You open the washer, pull out warm clothes, and catch that sharp burnt odor. You might freeze for a second, wondering if you can finish the load, if the machine's dying, or if you've got a fire risk sitting in the laundry room.
A burning smell from a washing machine is serious, but it's also useful. The smell itself is one of the best clues you have. If you sort the odor first, you can usually tell whether you're dealing with a user-fixable problem like belt slip or a stop-now electrical issue that needs a technician.
What That Burning Smell Really Means
A washer doesn't produce a burning smell for no reason. Something inside is getting hotter than it should. In practical terms, that usually means friction, strain, or an electrical component overheating.
The first question I'd ask in a home is simple. What does it smell like exactly? That's the detail many guides skip, and it matters more than people think. A rubber smell points you in one direction. A plastic or electrical smell points you in a very different one.
According to Beacon Saves on washer burning smell diagnosis, rubber smells from slipping belts caused by overloading are often user-mitigatable, while electrical smells tied to wiring arcing or motor failure require immediate professional attention because of fire hazard risk. That's the distinction that helps you decide whether to inspect the machine or back away and make a service call.
Why the smell type matters first
If it smells like burnt rubber, think about friction. A belt may be slipping instead of gripping. That often happens after a heavy load of towels, blankets, or jeans.
If it smells like melting plastic, hot wiring, or ozone, think electrical fault. That's a different category entirely. In that case, the machine isn't just struggling. It may be unsafe to restart.
Practical rule: If the smell reminds you of a car fan belt, inspect for overload and belt-related issues. If it smells like hot wiring or scorched plastic, stop treating it like a laundry problem and treat it like a safety problem.
A real-world example
A common homeowner example is this. The machine smells hot during the spin cycle after washing a comforter and several towels together. That pattern often lines up with a belt under stress.
A different example is a washer that gives off a sharp electrical smell during the wash portion, even with a normal-sized load. That points away from simple overload and toward wiring, motor, or board trouble.
Ignoring either smell is a mistake. The right next step depends on which smell you have.
Immediate Safety Steps Before You Do Anything Else
Don't keep the cycle going to “see if it clears up.” Don't start another load to test it. When a washer smells like something is burning, safety comes first.
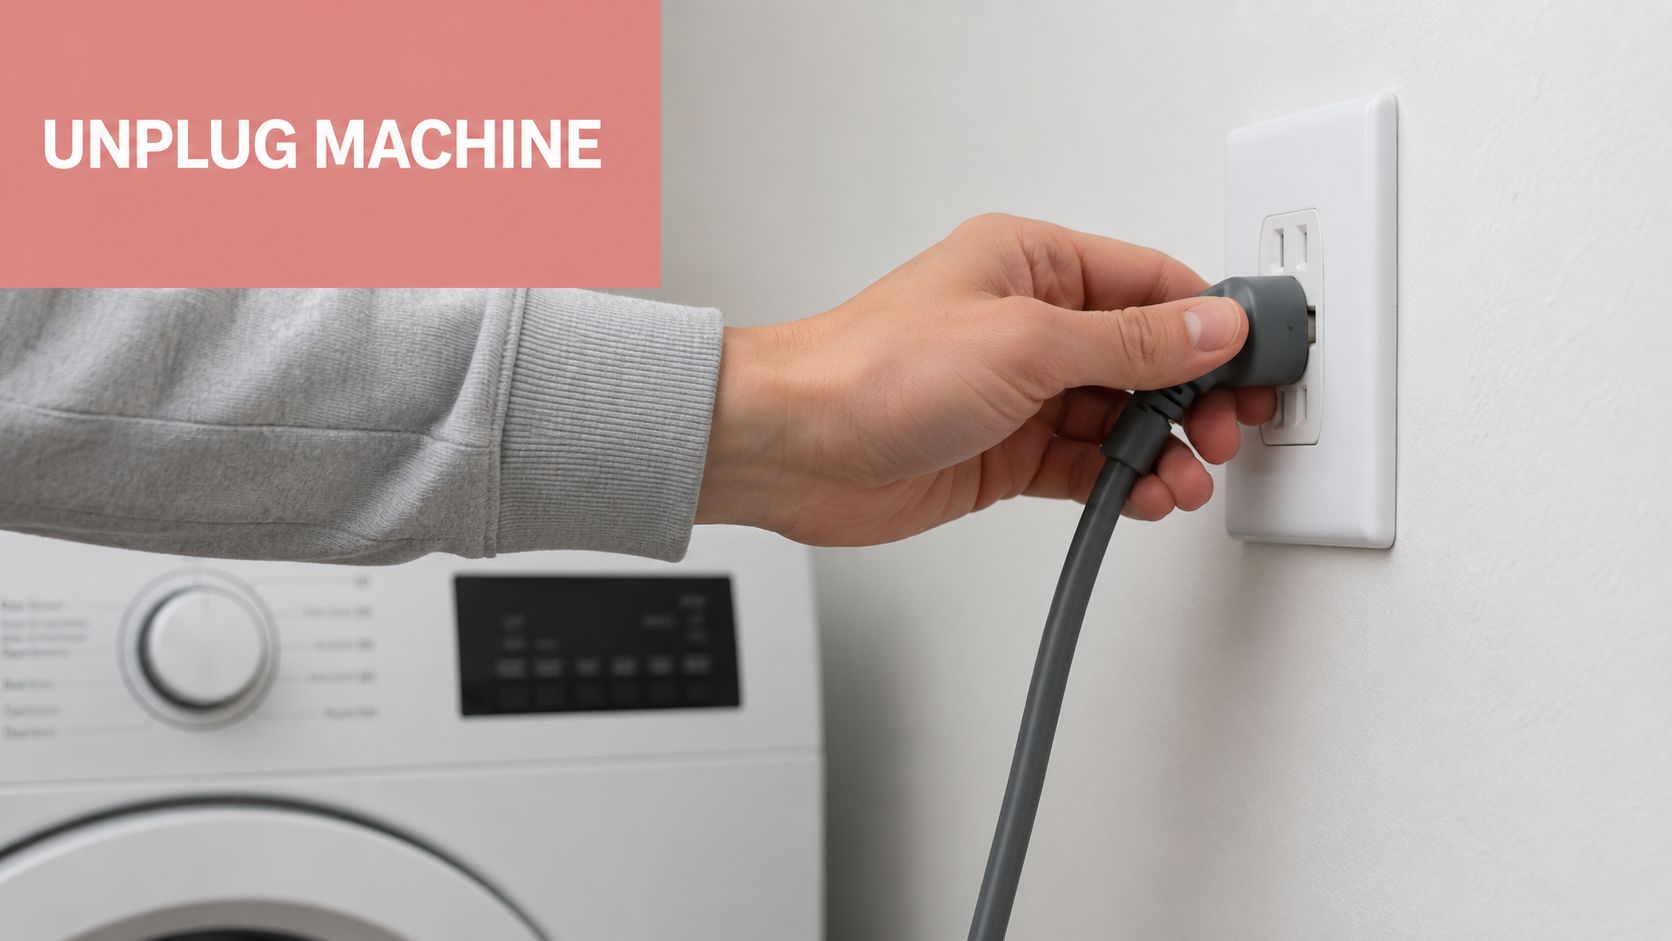
Industry repair protocols are direct about this. If a burning odor is detected, the user should stop the cycle, unplug the appliance, and let it cool before inspection to reduce the risk of severe damage or fire, as described by Appliance Repair Poway's washer burning smell guidance.

The three steps that are not optional
Stop the cycle immediately
If the machine is running, cancel the cycle. Don't wait for spin to finish.Unplug the washer from the wall
Turning the machine off at the controls isn't enough. Pull the plug so power is fully cut.Let the machine cool and clear the air
Open the laundry room door or a nearby window if you can do it safely. Give the machine time before touching panels, hoses, or internal parts.
What to check from a safe distance
Look for signs that move this into emergency territory:
- Visible smoke
- A strong plastic or electrical odor that gets worse
- Scorching near the outlet, cord, or back panel
- Popping sounds or flickering nearby power
If you notice any of that, don't start troubleshooting with tools. Keep the area clear. If the laundry room also needs a reset after the scare, these house cleaning tips for keeping utility spaces manageable can help once the appliance issue is resolved.
If you have to ask whether it's safe to restart the washer, the answer is usually no until you know what caused the smell.
Diagnose the Problem What Does It Smell Like
Once the washer is unplugged and cool, the smell gives you your first real diagnosis. Don't overcomplicate this. Stand near the door, the control area, and the lower front or rear panel, and note what the odor resembles.

Burnt rubber smell
This is the most homeowner-friendly category. If the smell reminds you of a slipping car belt, the washer may have a drive belt under too much friction.
A practical example: you wash a dense load of bath towels, the washer struggles during spin, and the laundry room fills with a hot rubber smell. That often points to a belt slipping under strain instead of rotating smoothly.
Rubber odor also has one less obvious cause. New inlet hoses can produce a rubber smell without a mechanical failure. To isolate that, House Digest's washer rubber smell test recommends running a cycle that fills the drum with hot water, then stopping the machine before agitation or motor activation. If the smell appears during that fill stage, the hoses are the likely source and the odor should fade over time.
Burning plastic or electrical smell
This one is more urgent. If the smell is sharp, acrid, or like melting insulation, think wiring, a short, or an overheated electrical component.
Example: the washer starts normally, then during the wash portion you notice a smell like a heated extension cord or melting plug plastic. That's not a belt symptom. It suggests an electrical problem, and the smart move is to leave the machine unplugged.
Hot metal smell
A hot metallic odor often points to the motor or pump overheating. This can happen when a component is mechanically restricted and the motor keeps trying to force it.
Example: the machine drains slowly, hums louder than usual, and then gives off a hot metal smell near the lower front section. That can fit a pump problem more than a belt problem.
Mild dust or first-use odor
Some new machines give off an initial smell that fades with use. If the smell is mild, not acrid, and there are no other warning signs, it may be temporary. But if the smell becomes stronger, or if smoke or harsh electrical odor shows up, stop treating it as normal.
For cleaning around the laundry zone after you've handled the repair side, many homeowners also use distilled vinegar in other parts of the home, though vinegar isn't a substitute for diagnosing overheated washer parts.
Washing Machine Smell Diagnosis Chart
| Smell Type | Likely Cause | When It Occurs | Next Step |
|---|---|---|---|
| Burnt rubber | Slipping or worn belt, overload-related friction | Often during spin | Check load size, inspect belt area |
| Burning plastic | Melting insulation or overheated component | Often during wash or active power use | Keep unplugged and call a professional |
| Electrical or ozone | Short, arcing, or motor electrical trouble | Can appear suddenly during operation | Do not restart the machine |
| Hot metallic | Overheating motor or pump | Often during drain or heavy mechanical effort | Inspect pump-related restriction if safely accessible |
Your nose can narrow the problem faster than a random parts swap ever will.
How to Inspect and Fix Common User-Friendly Issues
A rubber smell usually points to friction, drag, or a part that is slipping under load. That gives a homeowner a safer starting point. A sharp electrical or melting-plastic smell does not. If the odor you noticed fit the rubber side of the chart from the last section, check the simple mechanical items first and leave wiring, boards, and motor testing alone.

Check the load before opening anything
Start with what was in the drum when the smell showed up.
A washer can smell like burnt rubber with no failed part at all if the load was too heavy or badly unbalanced. A king-size comforter mixed with towels and jeans is a common example. Once those items soak up water, the machine has to work much harder to turn and spin them, and that extra drag can make a belt slip or overheat a drive component.
If the load was dense, bulky, or packed tight, run a much smaller test load after the machine has cooled. If the smell is gone, the fix may be as simple as changing how the washer is loaded.
Inspect the pump filter and impeller
A partially blocked drain system can make the machine strain longer than it should, especially during drain and spin. That extra strain can create heat and a hot, unpleasant smell that gets mistaken for an electrical problem.
Use a careful, controlled approach:
- Find the pump filter access door near the lower front panel if your washer has one.
- Put down towels and a shallow pan because trapped water often spills out.
- Remove the filter slowly and clear lint, coins, hair, and small clothing items.
- Look into the housing for anything wrapped around or wedged beside the impeller.
- Turn the impeller gently and check that it moves without obvious binding.
I see this often. The homeowner reports a burning smell, but the fault is a pump fighting a coin, hair clip, or pocket debris. If you also keep up with general laundry-area upkeep, this guide on how to clean the lint trap is useful, even though a washer pump filter and a dryer lint trap are different parts.
Inspect the belt and pulley area
Some models let you remove a rear or lower panel for a basic visual check. If yours does, look only for obvious mechanical wear. Do not start disconnecting wires or testing live parts.
Focus on signs you can identify at a glance:
- Black rubber dust near the motor or drive pulleys
- Frayed belt edges
- Cracks, glazing, or melted spots on the belt surface
- Rubber buildup along the belt path
- A pulley that wobbles, binds, or looks heat-discolored
The pulley matters as much as the belt. If the idler or tension pulley does not turn freely, a new belt can burn up in short order because the underlying friction source is still there. That is a common repeat-repair mistake.
What counts as a safe DIY result
A good outcome is simple and boring. You clear the pump filter, remove an obstruction, reduce the load size, or spot an obviously worn belt that your manual says is owner-serviceable. Then you run a light test load and the smell does not come back.
Stop immediately if you find scorched insulation, melted plastic, char marks, loose wiring, or any odor coming from the control area rather than the moving parts. Those are no longer user-friendly issues.
This video gives a general visual reference for washer troubleshooting steps and what internal inspection can look like in practice:
Removing a panel for a visual check is one job. Diagnosing an electrical fault is a different job.
Preventive Maintenance to Stop Future Scares
A washer that suddenly smells hot usually gave smaller warnings first. The goal of maintenance is to reduce friction, heat, and strain before a rubber smell turns into a repair call.

The maintenance habits that matter most
Start with load habits. Overloading is hard on belts, motors, and bearings, especially with towels, bedding, and heavy cotton items that get much heavier once wet. A drum can look only partly full at the start and still become a strain load during the wash cycle.
The safer habit is simple. Pack clothes loosely, leave room for them to tumble, and wash bulky items in smaller batches. That matters even more if the smell you noticed earlier was rubber-like rather than sharp and electrical, because chronic overload is a common cause of belt slip and heat buildup.
Airflow and cleanliness matter too. Detergent residue, lint, and grime do not usually cause a true burning odor by themselves, but they trap moisture, make parts work harder, and can hide early warning signs.
A practical prevention checklist
- Run the tub clean cycle on schedule so soap film and residue do not build up inside the washer.
- Clean the pump filter regularly if your model gives homeowner access, especially if drainage has slowed.
- Wipe the door gasket, glass, and dispenser area so sludge and trapped debris do not sit in the machine.
- Check pockets before every load because coins, hair ties, and small items often end up where they should not.
- Wash rugs, blankets, and comforters in smaller loads or use a larger machine when the item is too heavy for your washer.
- Pay attention to new sounds such as squealing, dragging, or rhythmic thumping. Those noises often show up before heat and smell.
In busy homes, this routine makes a real difference. A washer handling gym clothes, bath towels, pet bedding, and weekend sheets needs more frequent filter checks and more restraint with bulky loads than a machine used a few times a week.
Clean around the machine too. Dust behind the washer, lint near the motor area, and clutter around the cabinet make it harder to spot leaks, rubbing, or early wear. If the whole space needs attention, these laundry area cleaning services cover the kind of around-the-appliance upkeep that often gets skipped.
When to Put Down the Tools and Call a Professional
Some washer smells invite inspection. Others end the DIY conversation right away.
If you smell burning plastic, hot wiring, ozone, or harsh electrical odor, don't restart the washer and don't start guessing with parts. The same goes for visible smoke, sparks, burn marks, or a tripped breaker that returns when the washer runs.
Red flags that mean stop
- Smoke from the control area, rear panel, or lower cabinet
- Scorched wire insulation or char marks
- A control board area that smells burnt
- A smell that appears even with a light, balanced load
- The washer won't restart after the smell event
LG's repair guidance explains that acting early is usually cheaper, because waiting can lead to complete failure of the motor, stator coils, or control board. Their support article also notes that once those overheated parts are badly damaged, replacement becomes the necessary repair, not a minor correction. See LG's front-load washer burning smell help article.
What works and what doesn't
What works is stopping early, identifying the smell type, and limiting DIY inspection to clearly mechanical, accessible issues.
What doesn't work is running “just one more cycle,” replacing random parts, or assuming a harsh electrical smell will clear on its own. That's how a manageable repair turns into a major one.
If you need help getting the house back in order after an appliance scare, or you want support keeping busy utility spaces clean and manageable, you can contact Aquastar Cleaning Services for household cleaning assistance in the North Atlanta area.
Aquastar Cleaning Services, LLC helps homeowners keep the whole home running more smoothly, including hard-working laundry areas that collect dust, lint, and daily mess fast. If you need dependable housekeeping support in Kennesaw or the greater North Atlanta area, visit Aquastar Cleaning Services, LLC to learn more about recurring cleaning, deep cleaning, and move-in or move-out service options.