
Blogs
Bug Bomb Apartment Safely: Your 2026 Guide
You're standing in a hallway with a sickly chemical smell, a dead roach by the baseboard, and a lease that doesn't say much about pest control. Your first instinct might be to grab a fogger, shut the ...
Read More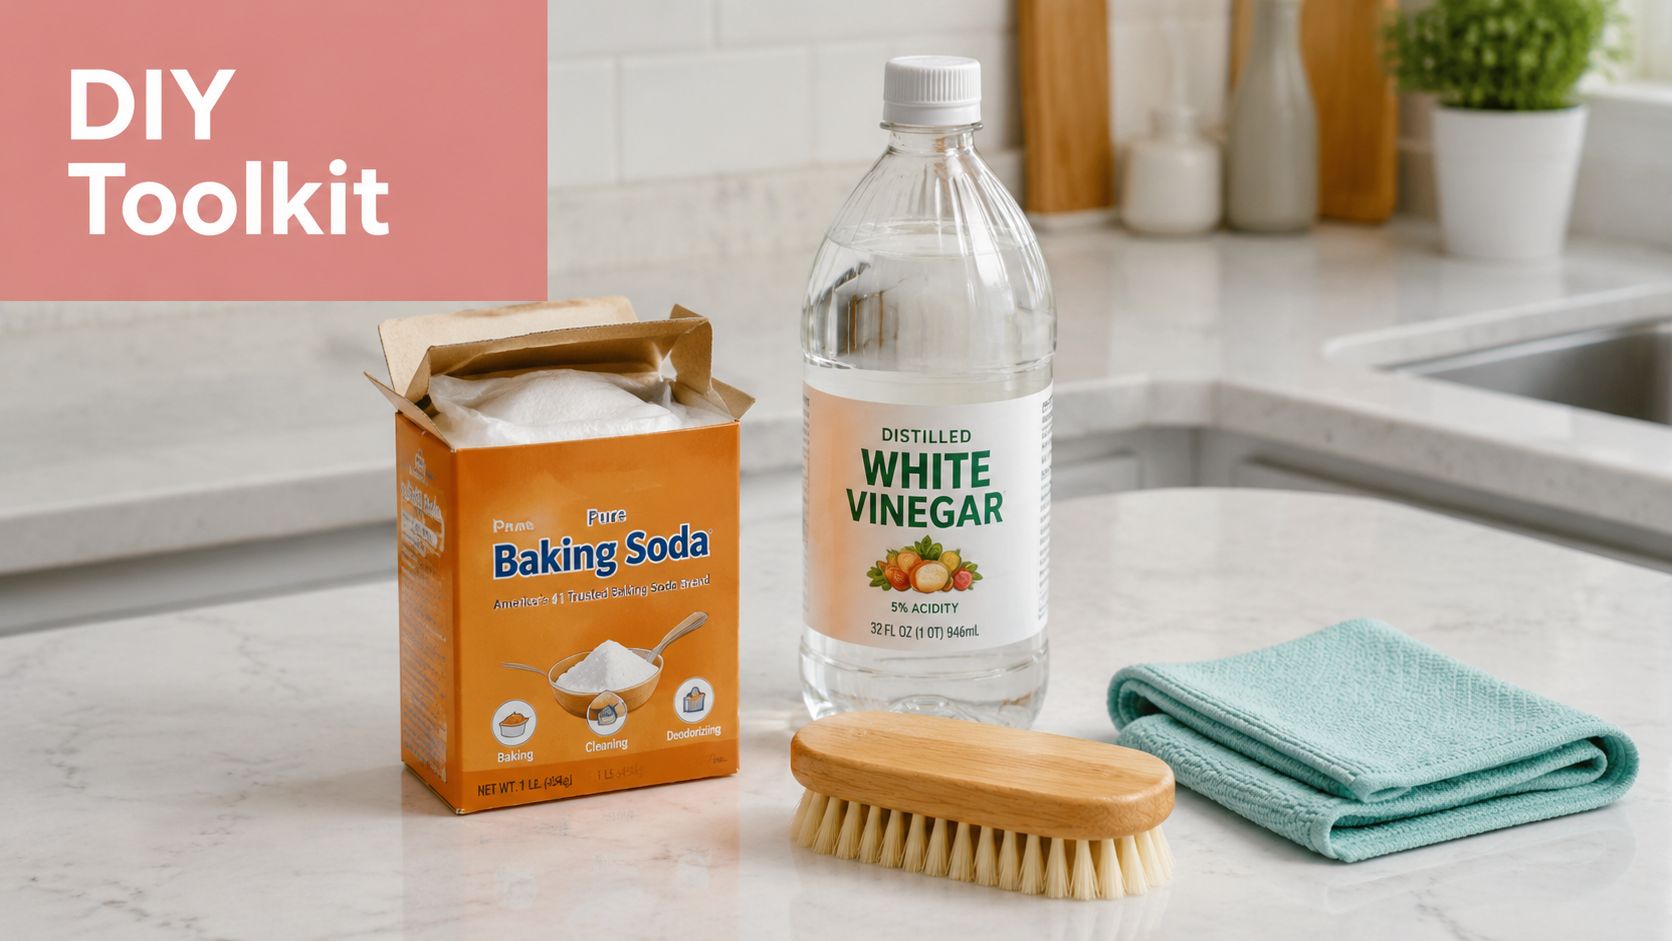
How to Clean Bottom of Pans: A 2026 Guide
You flip over your favorite skillet and the bottom looks worse than the inside. Brown grease. Black crust. Maybe a sticky ring that seems baked into the metal. A common response is to scrub harder, re...
Read More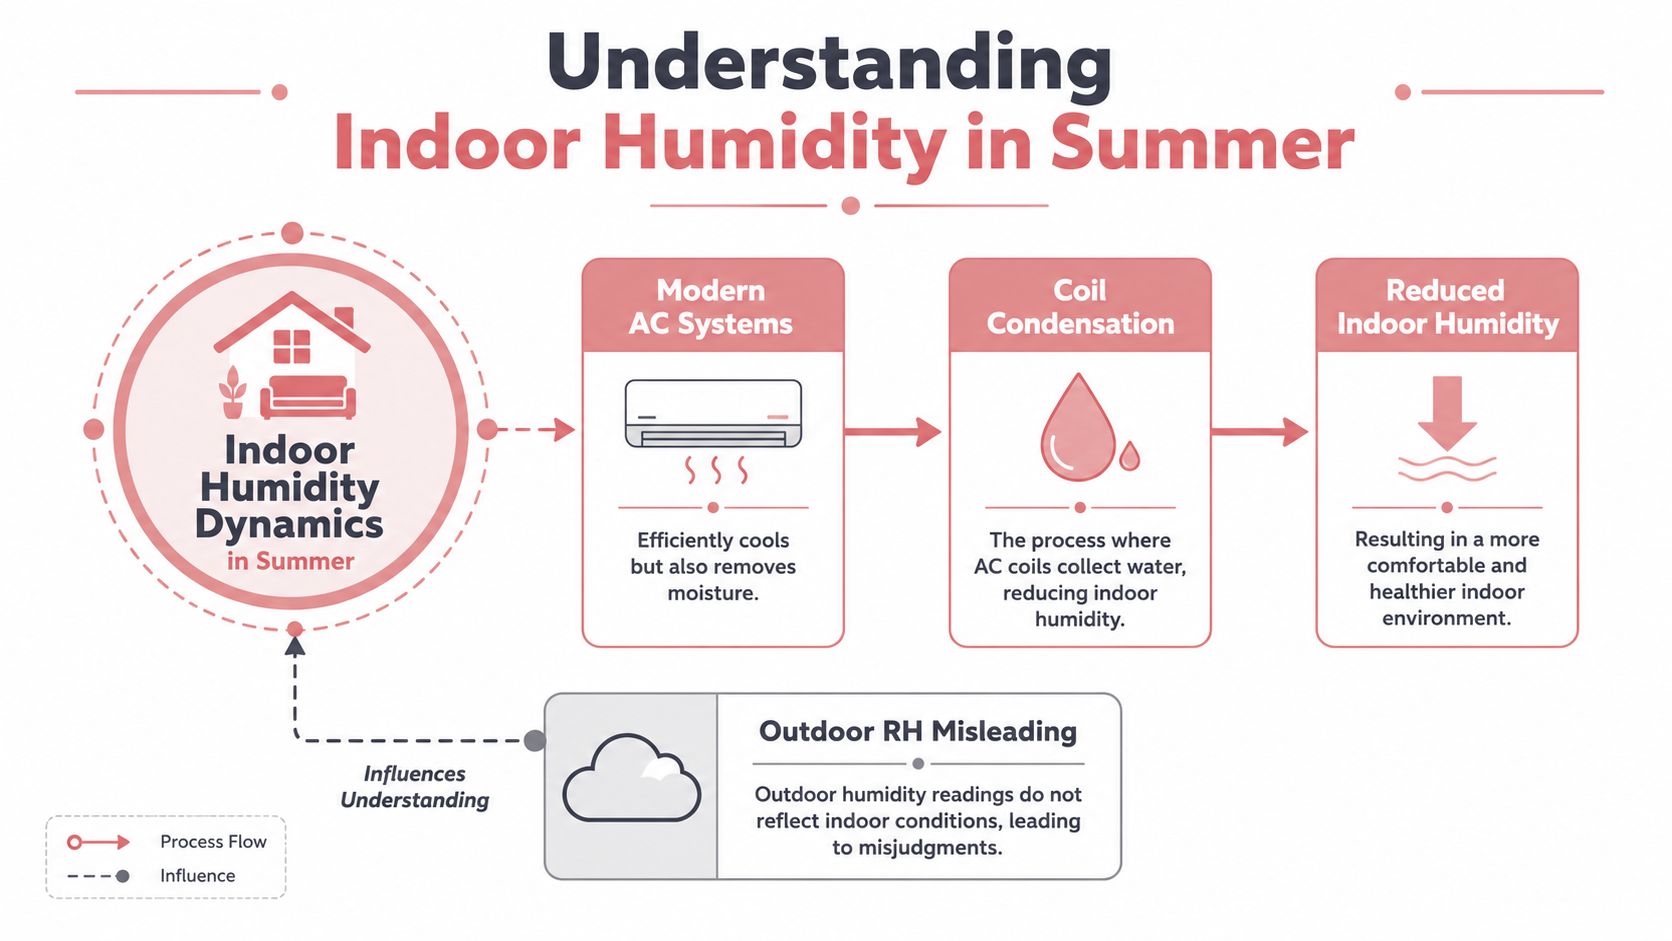
Humidifier in Summer How to Use It Safely and Effectively
On a sticky July afternoon in North Atlanta, your weather app can say one thing while your house feels like the opposite. Outside, the air feels heavy. Inside, the AC has been running for hours, your ...
Read More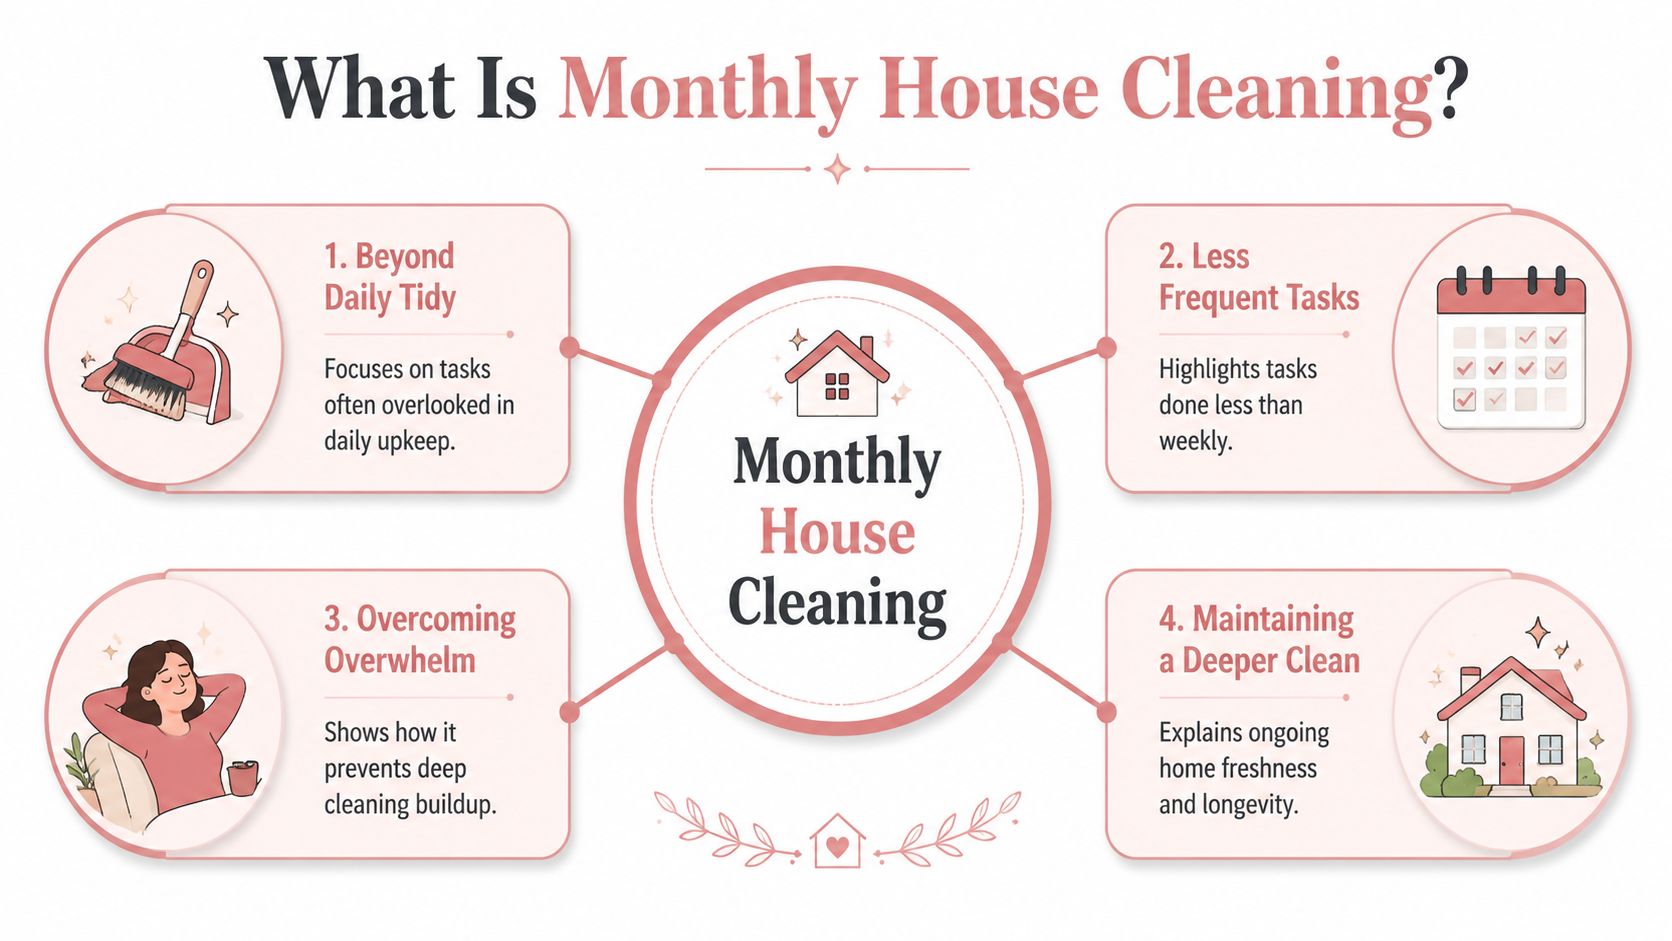
Your Monthly House Cleaning Guide for a Stress-Free Home
Somewhere in your home, there's probably a small list of chores you keep meaning to get to. The ceiling fan has a fuzzy line of dust on the blades. The return vent looks a little gray. The dishwasher ...
Read More
Burning Smell from Washing Machine: Your 2026 Safety Guide
You open the washer, pull out warm clothes, and catch that sharp burnt odor. You might freeze for a second, wondering if you can finish the load, if the machine's dying, or if you've got a fire risk s...
Read More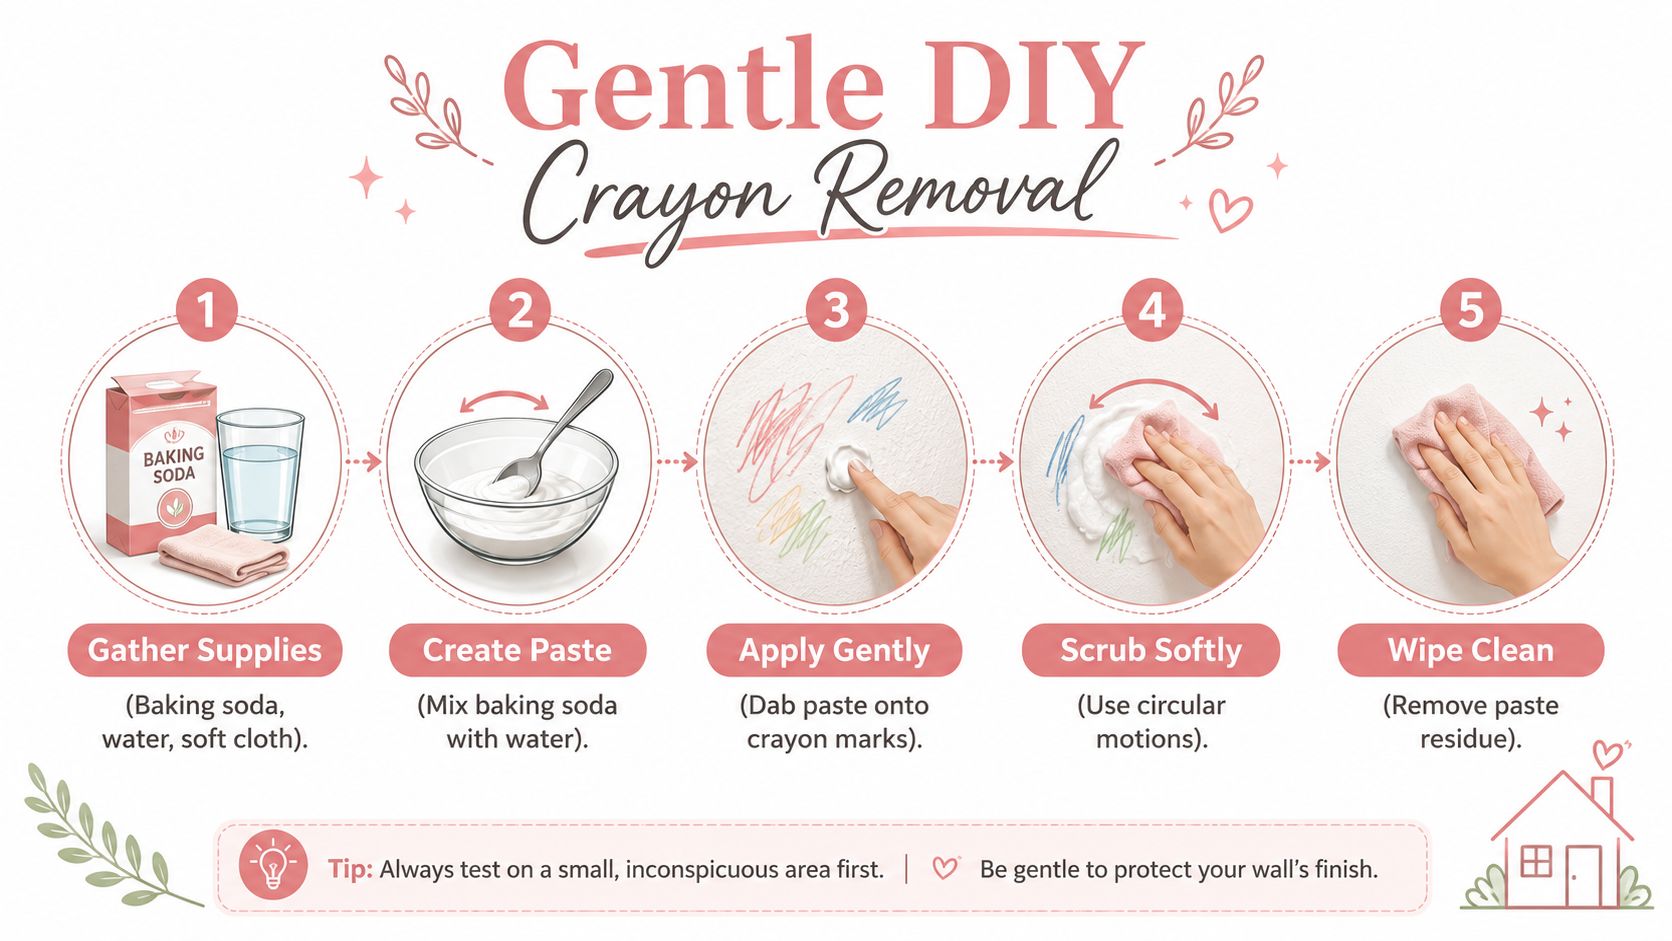
How to Get Crayon Off Wall: A Pro Cleaner's Guide
You step into the living room, and the wall tells the story before your child does. A bright loop of red near the light switch. A heavy blue zigzag behind the sofa. Maybe a whole corner covered in wha...
Read More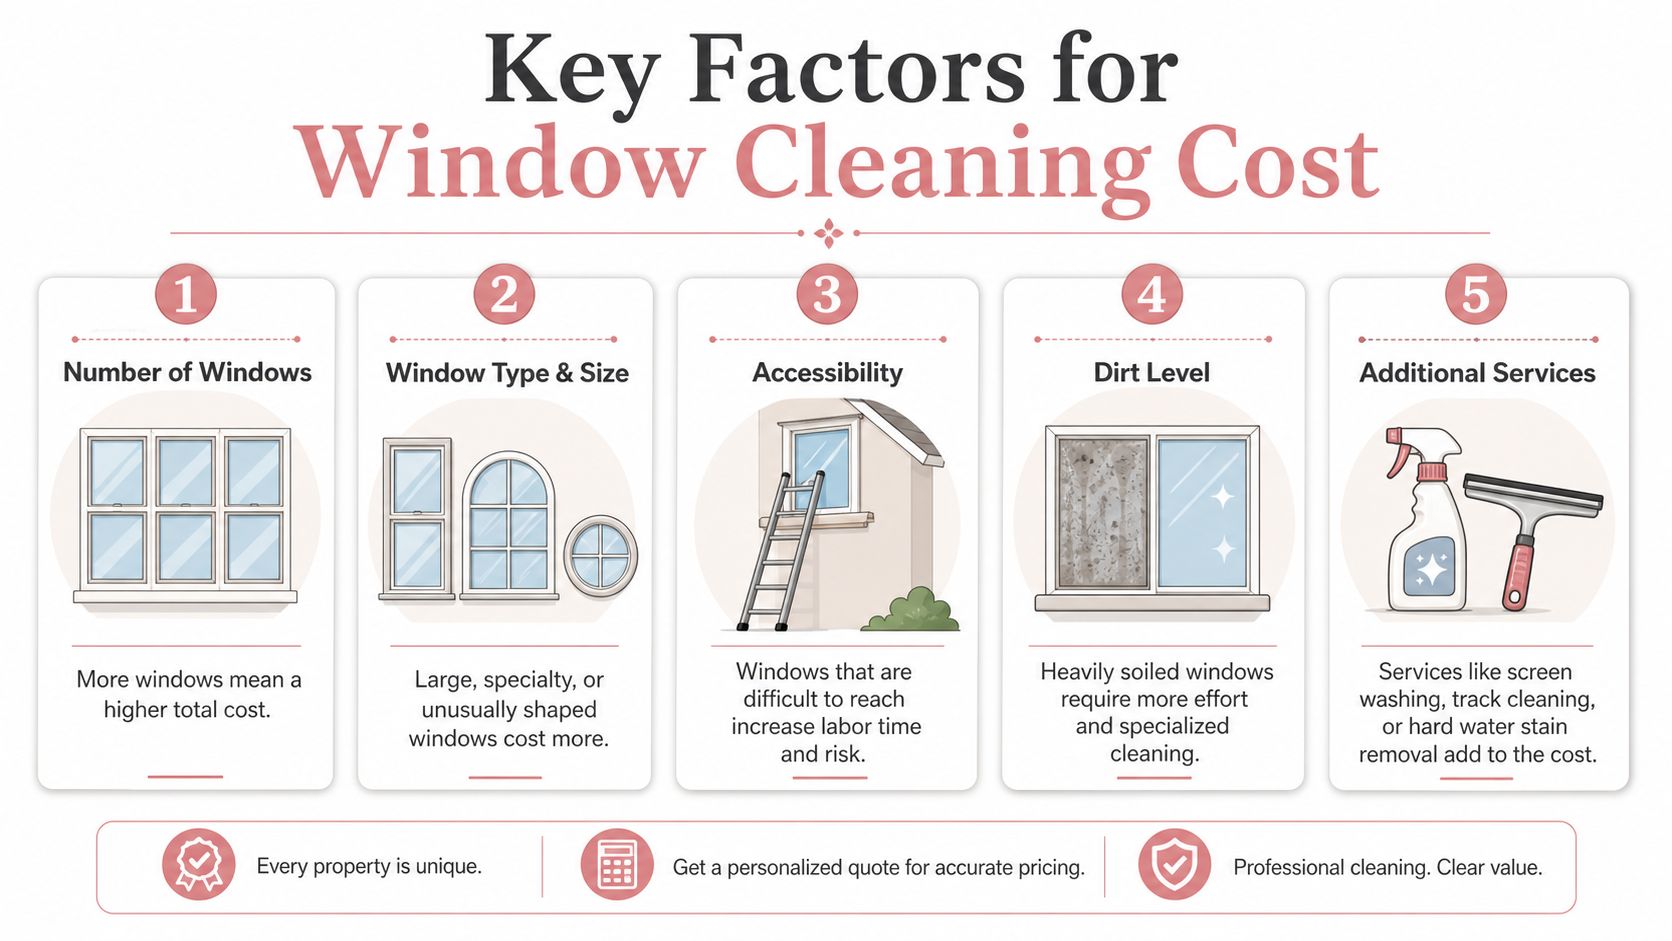
Window Cleaning Cost Per Window: A 2026 Pricing Guide
Window cleaning cost per window usually runs $4 to $15, and most standard homes land around $10 per window for a complete interior and exterior clean. If you're staring at dusty glass, pollen buildup,...
Read More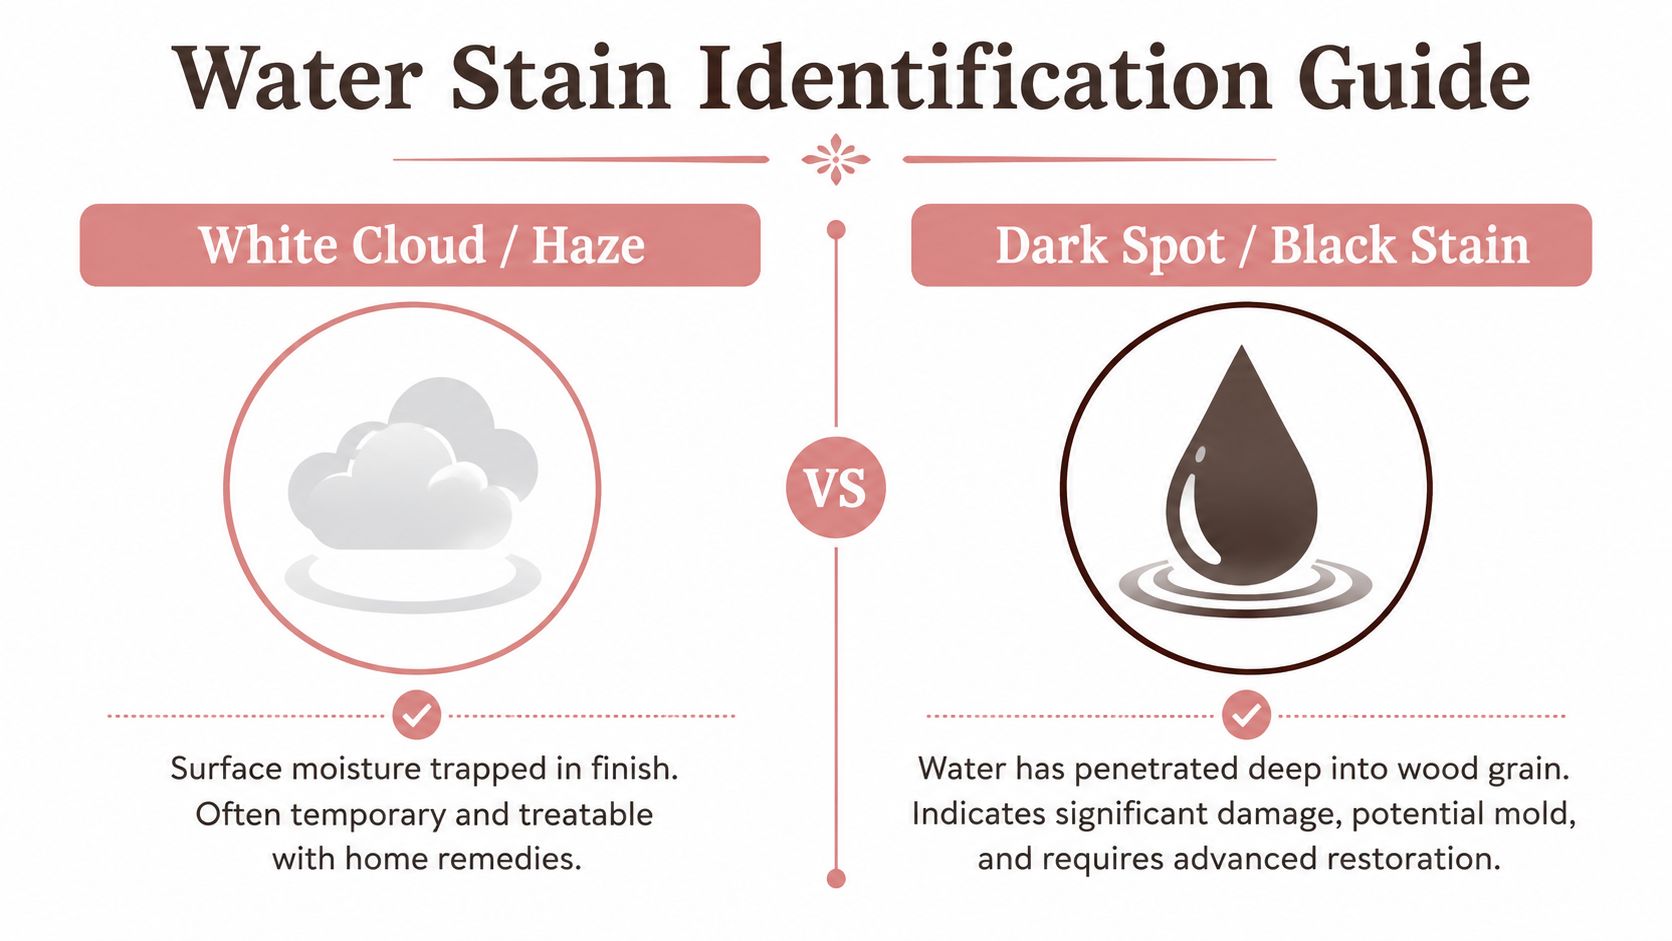
How to Remove Water Stains on Wood a Practical Guide
You set a glass down for a minute. Or a plant saucer leaked overnight. Or someone left a damp towel on a wood dresser and didn't mention it. Then you notice it. A pale ring on the table, or a dark blo...
Read More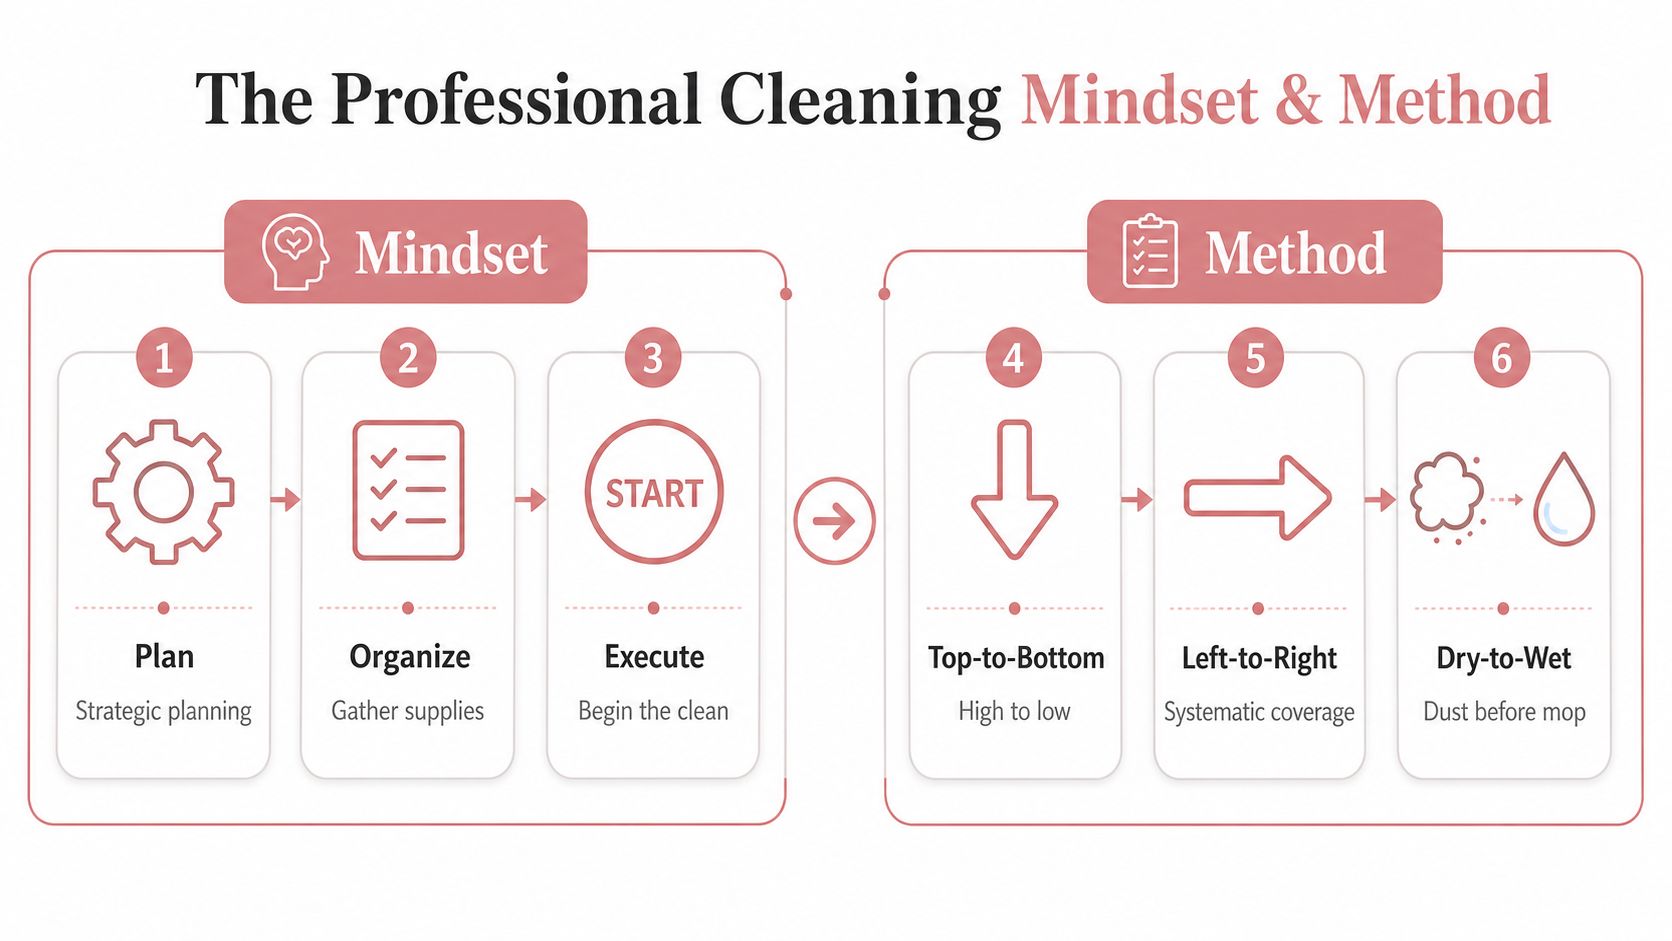
Top to Bottom House Cleaning: North Atlanta Experts 2026
You've probably done this before. You vacuum the floors, wipe the counters, step back for a second, and then notice dust still sitting on the fan blades, crumbs under the toaster, and splash marks on ...
Read More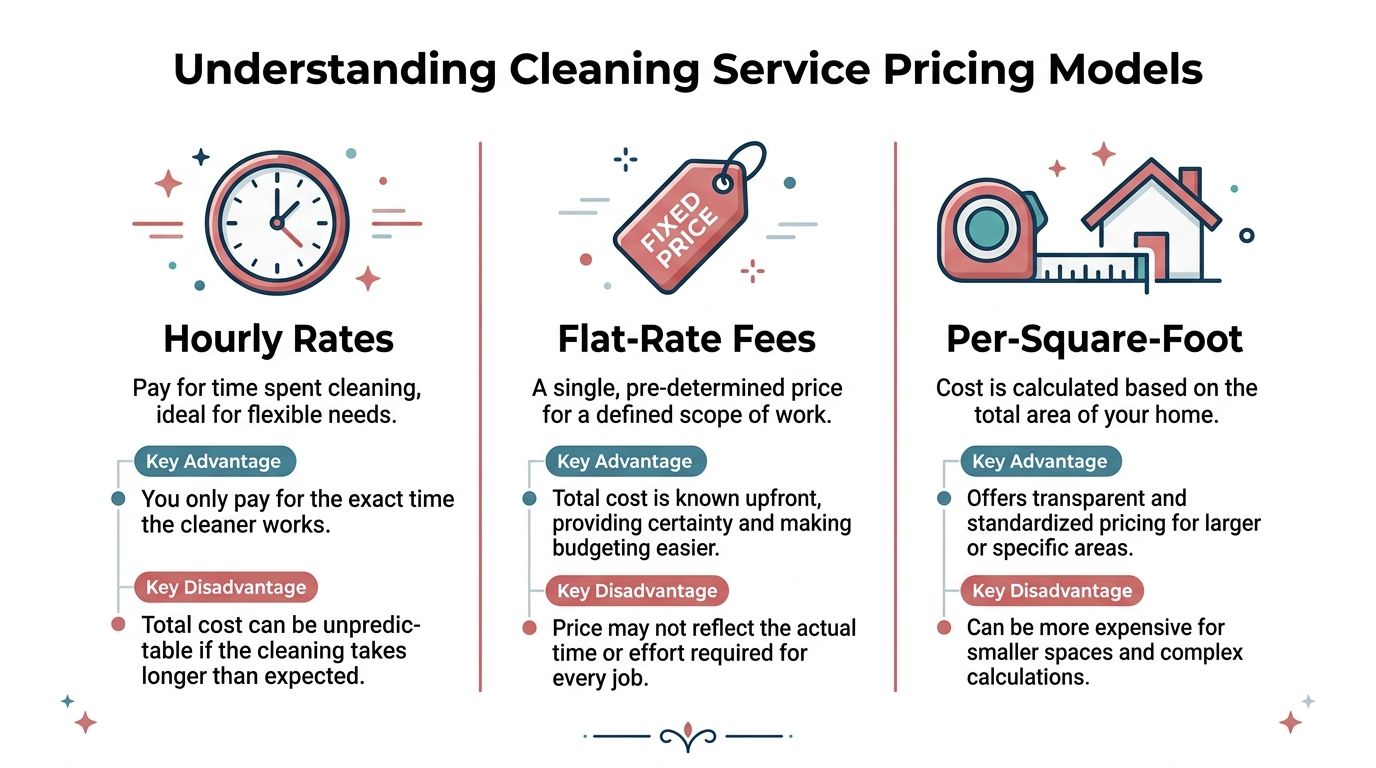
Average Cleaning Service Cost: 2026 Pricing & Factors
A standard house cleaning visit in the U.S. usually costs $120 to $280, and professional cleaning companies commonly charge about $40 to $80 per hour depending on the business and market. If you're tr...
Read More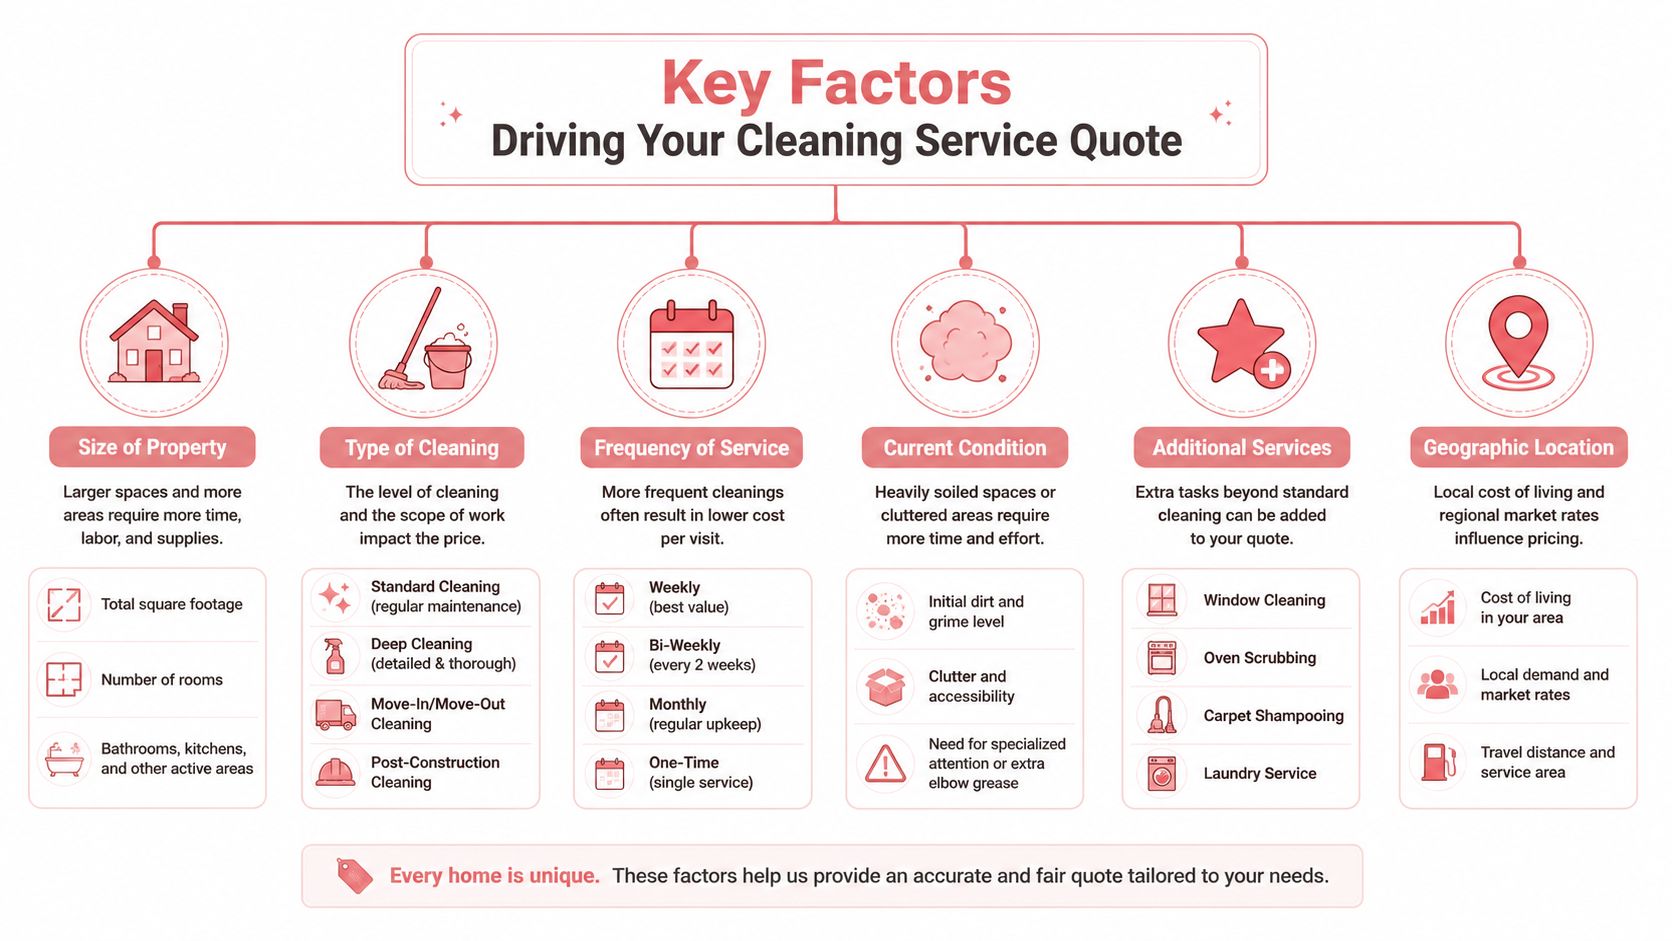
Home Cleaning Services Quotes: A North Atlanta Guide
Most homeowners should expect a one-time house cleaning quote to land between $174 and $256, with hourly pricing often between $40 and $55 per hour. That's the honest baseline, and it explains why one...
Read More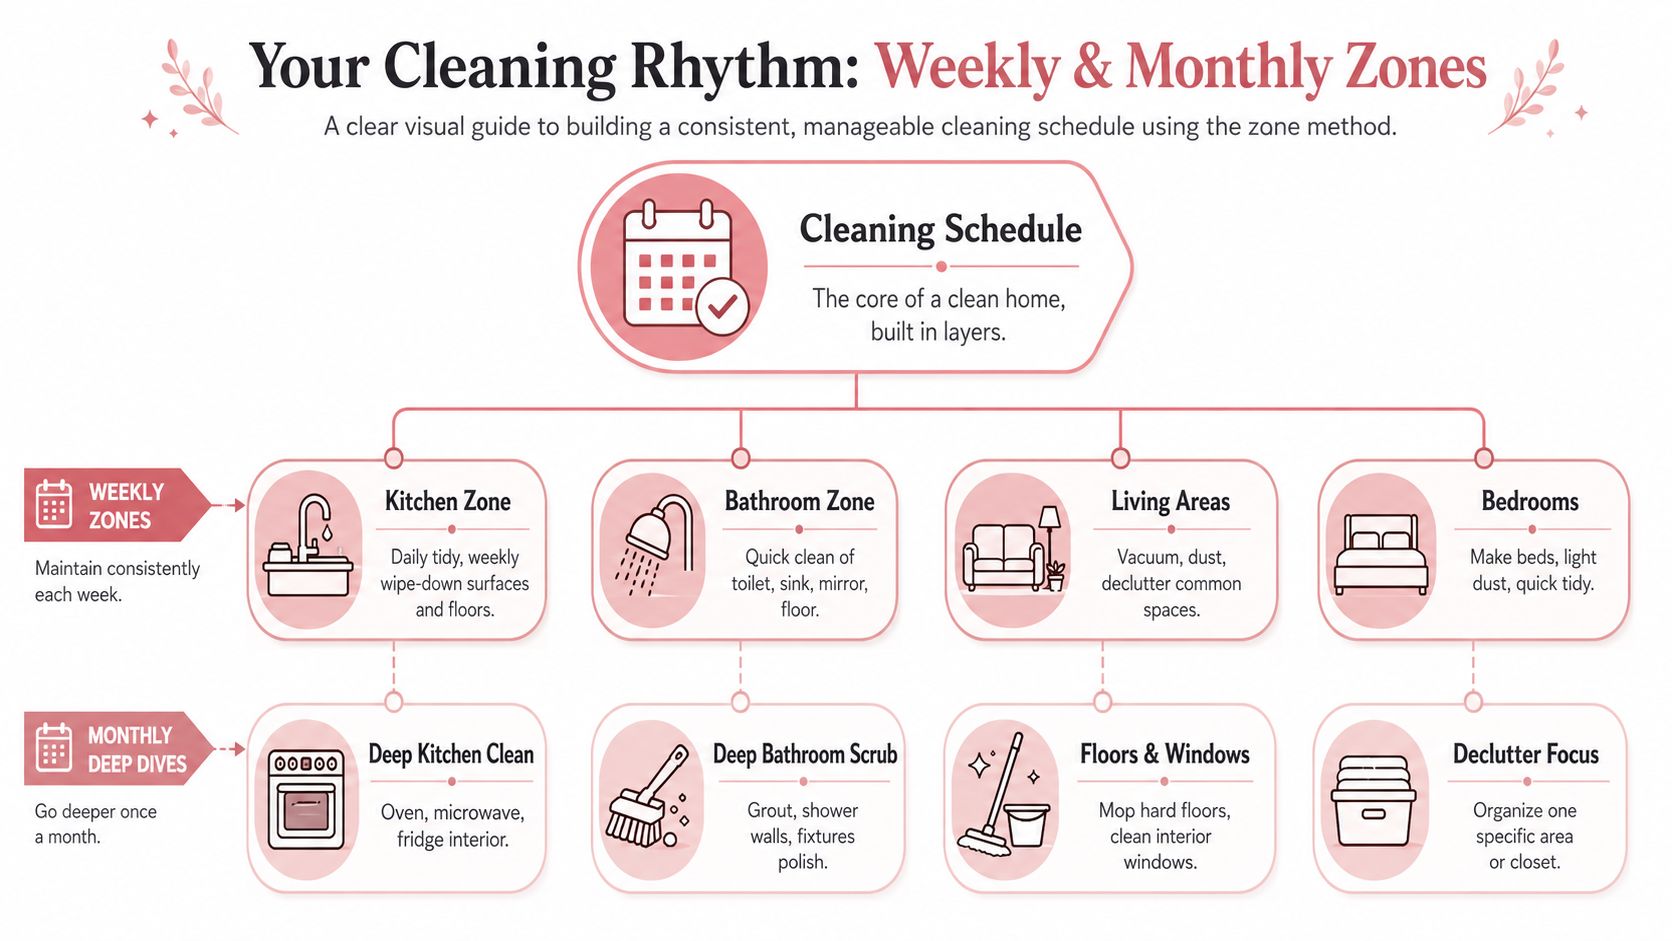
House Cleaning Schedule for Busy Family: Expert Tips 2026
By Friday evening, the house often looks like the week won. There are breakfast crumbs still under the table, a bathroom mirror dotted with toothpaste, clean laundry waiting in a basket, and a kitchen...
Read More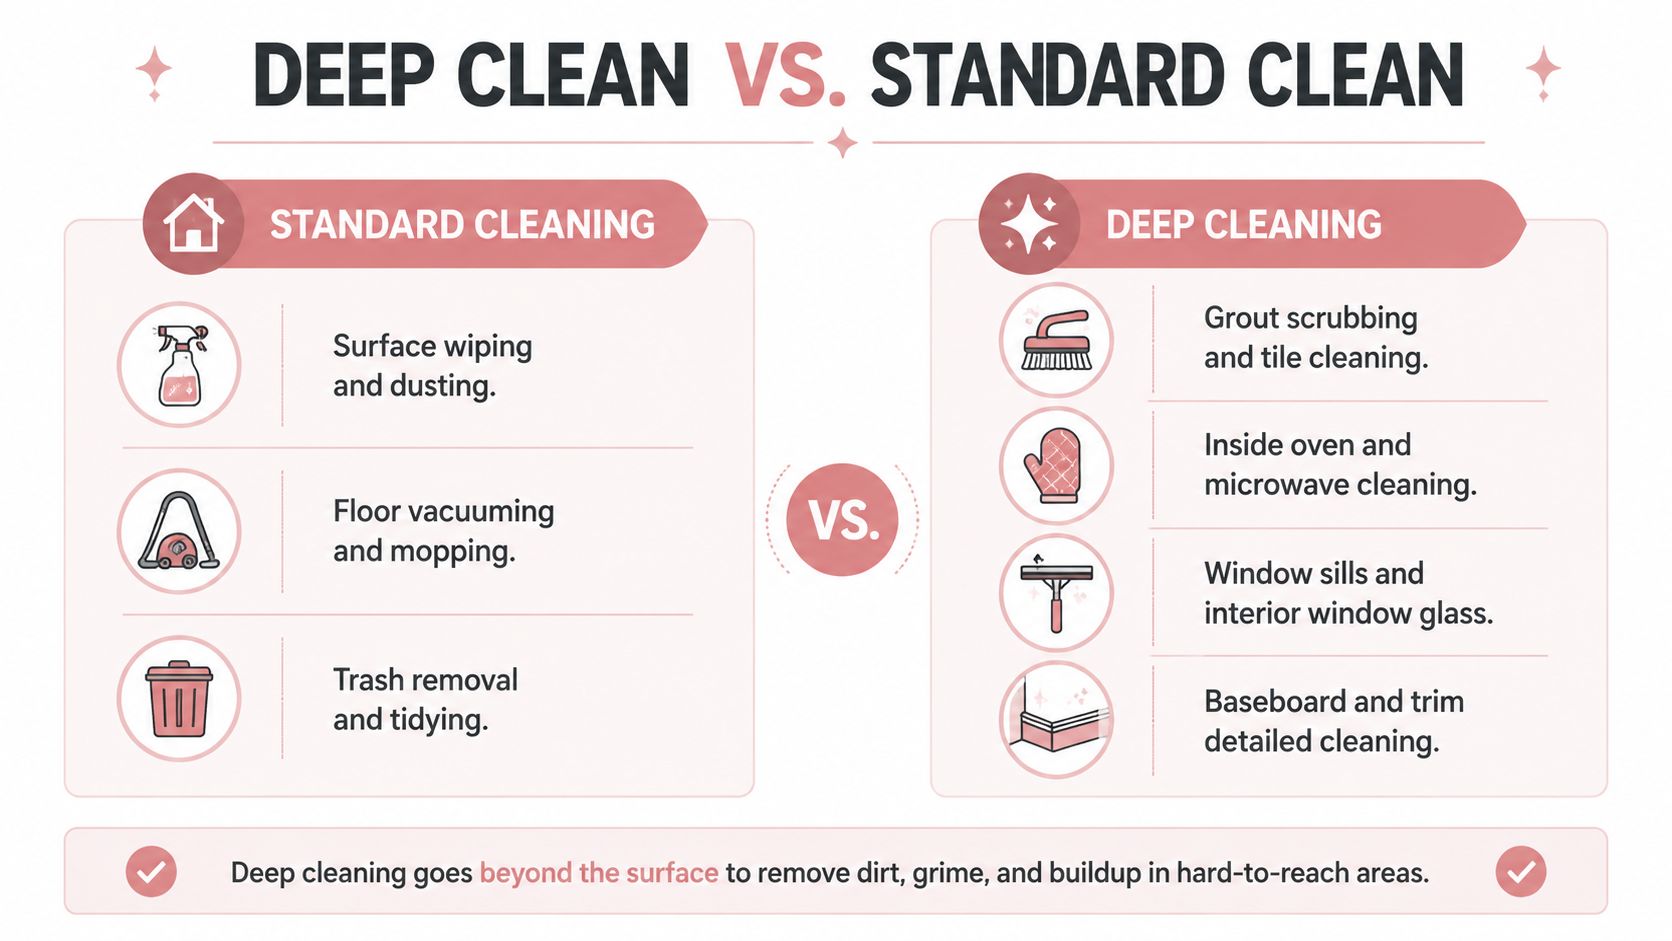
Deep Cleaning Services for Apartments: North Atlanta Guide
A professional deep clean for an apartment typically costs $200 to $500, and it's usually 1.5 to 2.5 times more than a standard cleaning. If you're staring at greasy cabinet fronts, dusty baseboards, ...
Read More
Pro Tips: How to Clean Mildew Shower Fast in 2026
You step into the shower before work, glance down at the corners, and there it is again. Dark spotting on the grout. A gray film on the caulk. Maybe a musty smell that tells you the bathroom still fee...
Read More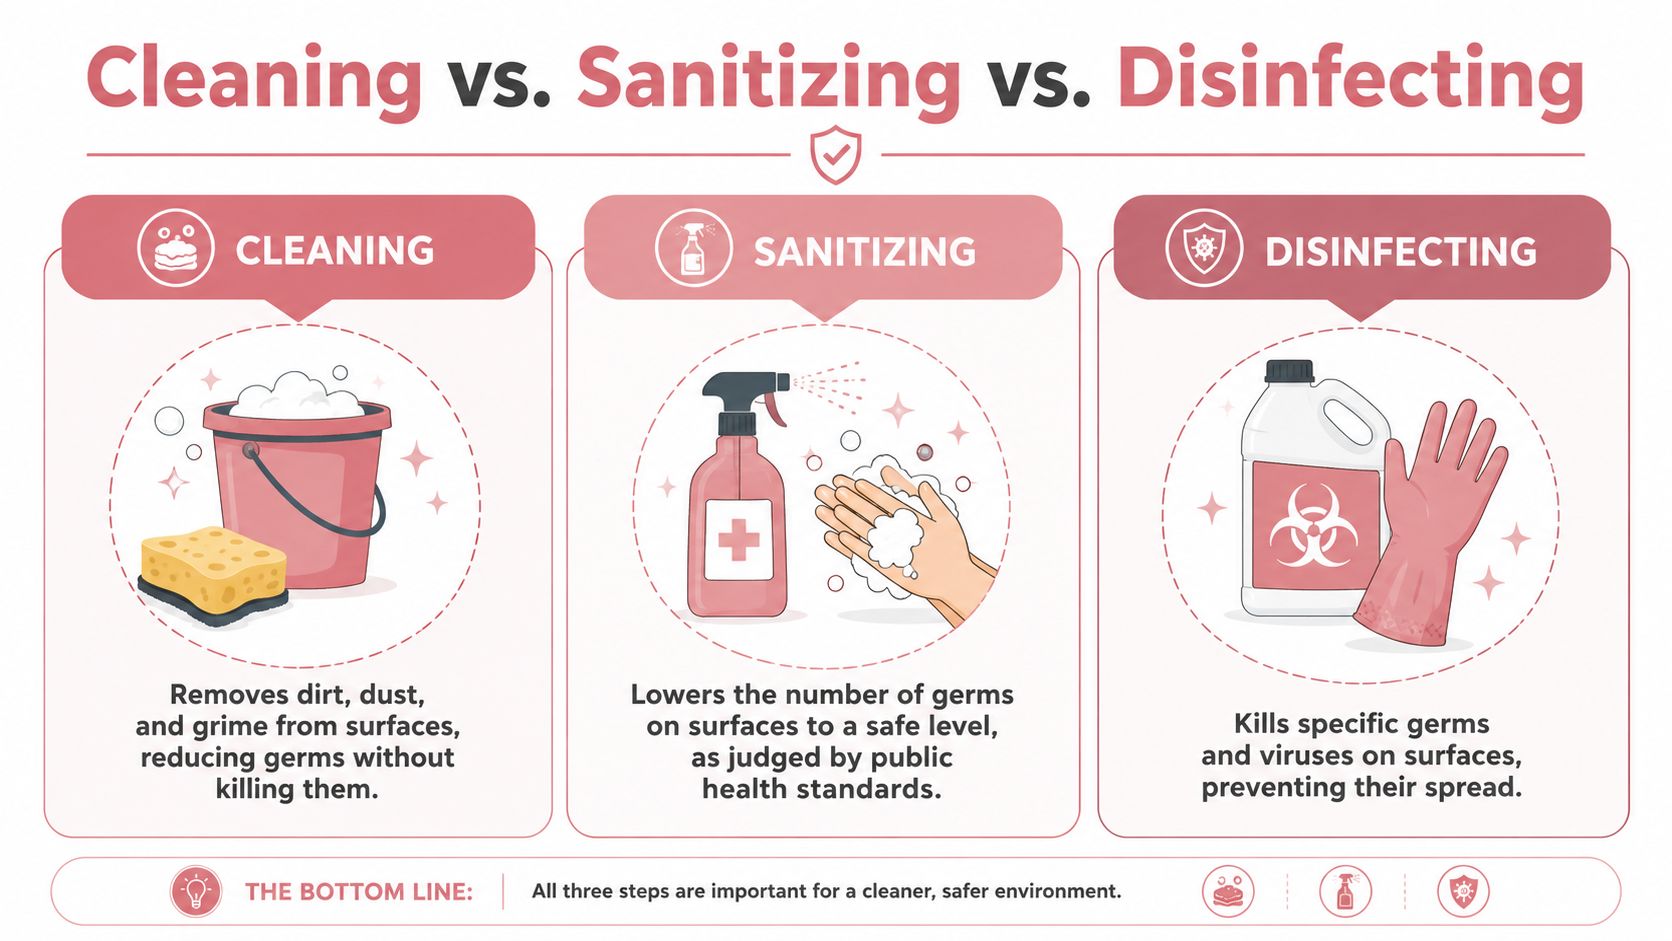
Disinfection Cleaning Service: North Atlanta Experts 2026
You wiped the counters. You changed the sheets. The trash is out, the floors look good, and the house finally feels normal again after someone's been sick. But then you touch the bathroom light switch...
Read More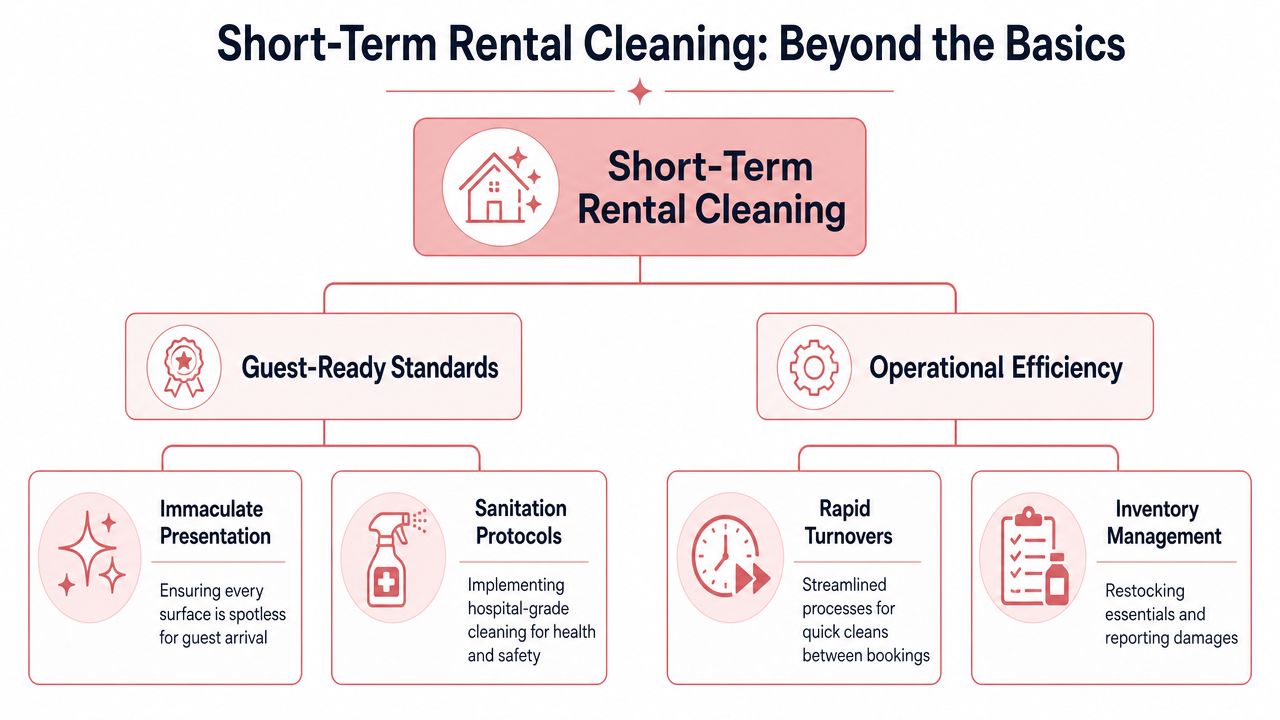
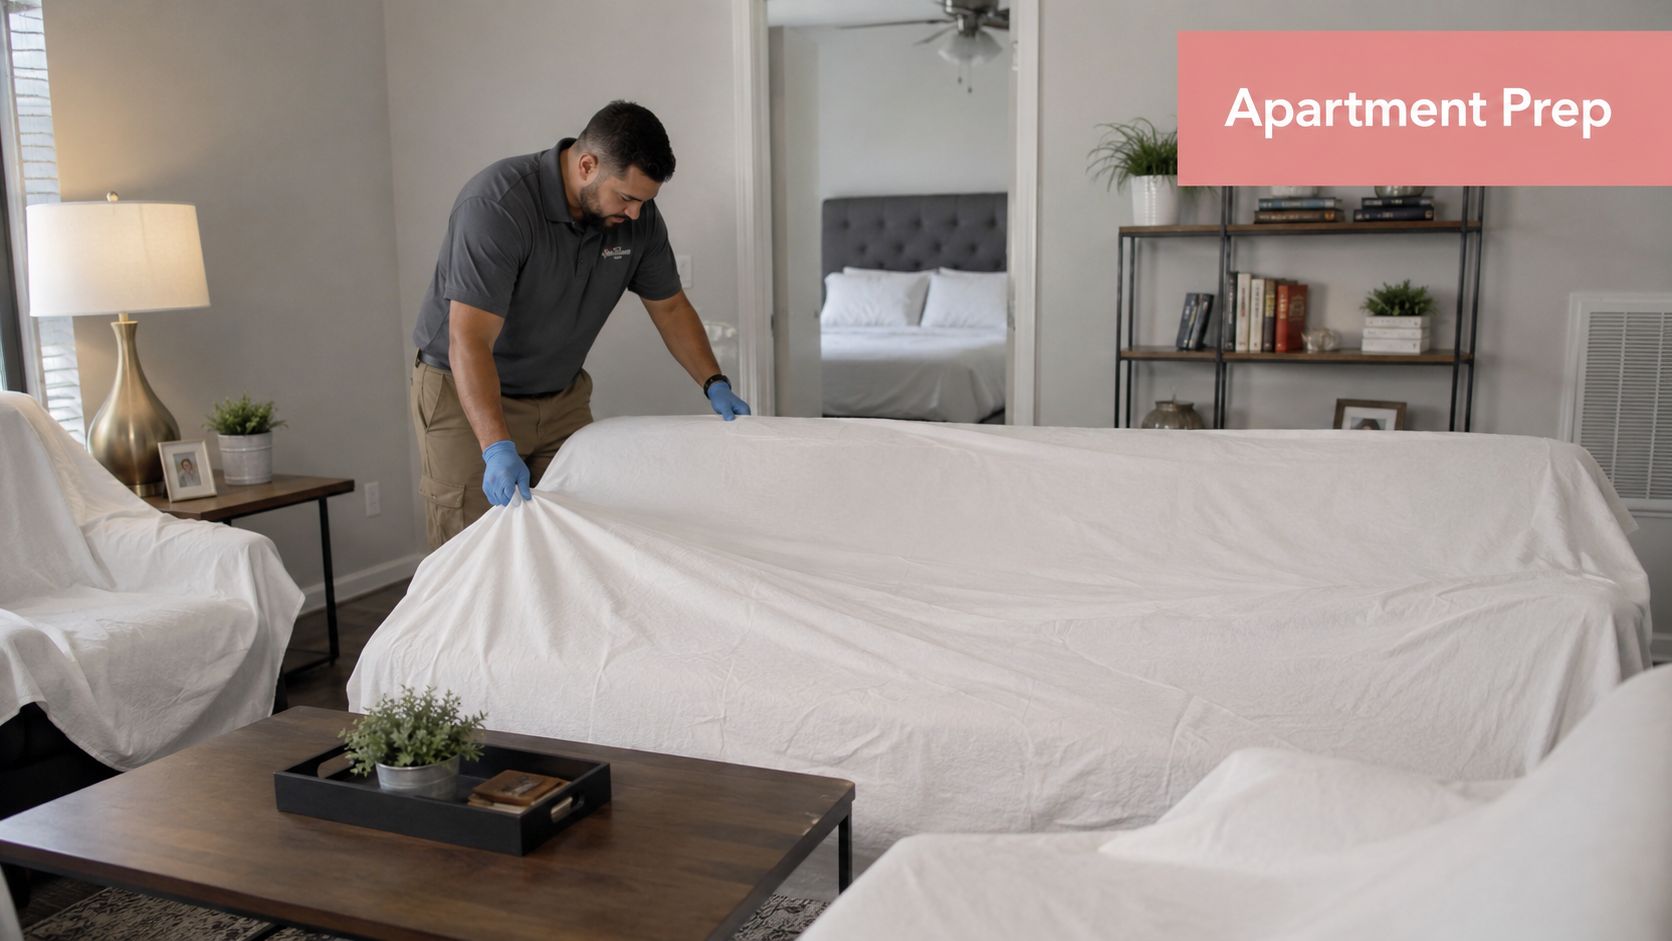
Short Term Rental Cleaning: An Atlanta Host's Guide
Your guest checks out at 10:00. The next one arrives at 4:00. You still need beds remade, towels replaced, the shower glass polished, the coffee station reset, trash out, and one final walk-through to...
Read More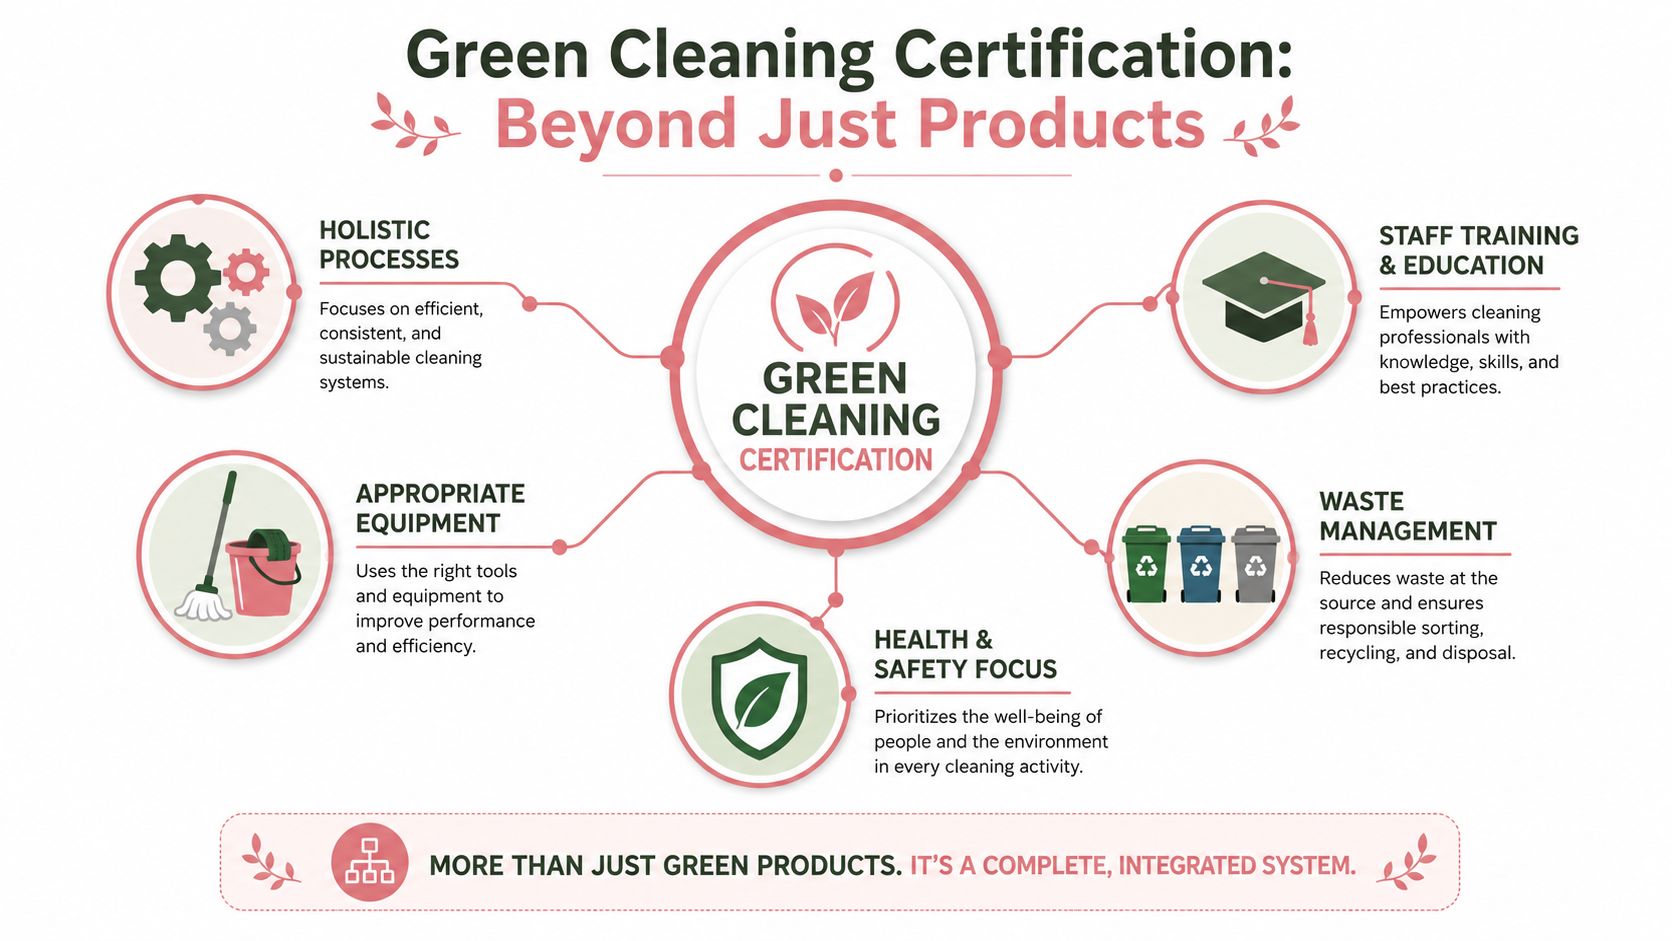
Green Cleaning Certification: North Atlanta Guide 2026
You're standing in the cleaning aisle, or scrolling through local house cleaning websites, and everything sounds reassuring. “Eco-friendly.” “Natural.” “Non-toxic.” “Safe for kids and pets.” The words...
Read More
Whole House Cleaning Price: A 2026 Atlanta Guide
A standard whole house cleaning in the U.S. usually runs $120 to $280, and a deep clean typically runs $240 to $500. That's the honest starting point, but if you live in North Atlanta, the primary con...
Read More